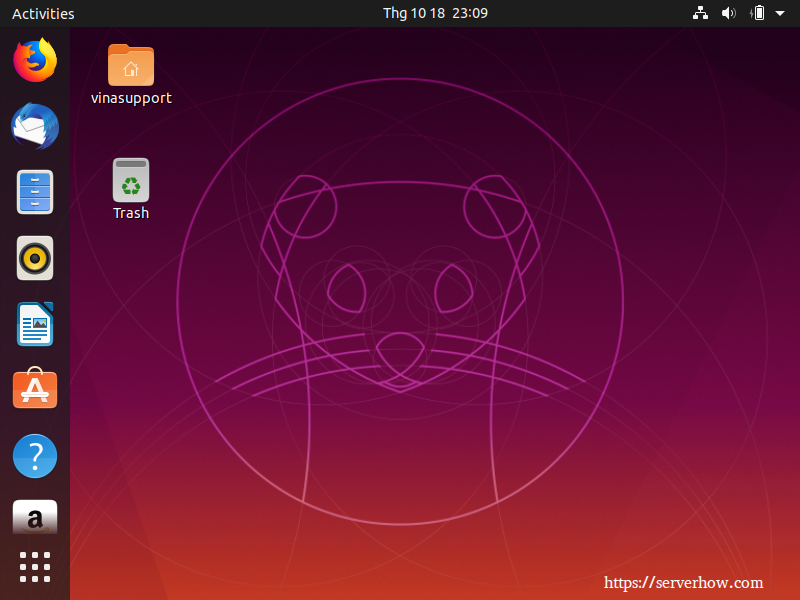
Ubuntu 19.10 was released on 17th October. This tutorial will show you how to install Ubuntu 19.10 (step by step) on your laptop, desktop or virtual machine on VirtualBox.
Downloading & Preparing
Download ISO file of Ubuntu 19.10 & create a bootable DVD / USB, please click link: https://serverhow.com/get-image-and-preparing-to-install-ubuntu/
Recommended Minimum System Requirements
The Recommended Minimum System Requirements, here, should allow even someone fairly new to installing Ubuntu or Gnu&Linux to easily install a usable system with enough room to be comfortable.
Ubuntu Desktop Edition
- 2 GHz dual core processor
- 4 GB RAM (system memory)
- 25 GB of hard-drive space (or USB stick, memory card or external drive but see LiveCD for an alternative approach)
- VGA capable of 1024×768 screen resolution
- Either a CD/DVD drive or a USB port for the installer media
- Internet access is helpful
Install Ubuntu 19.10 Desktop
To install Ubuntu 19.10, you must first put the installation medium (DVD / USB). Once the system is booted using the bootable disk, you will be presented with a screen that looks like this.
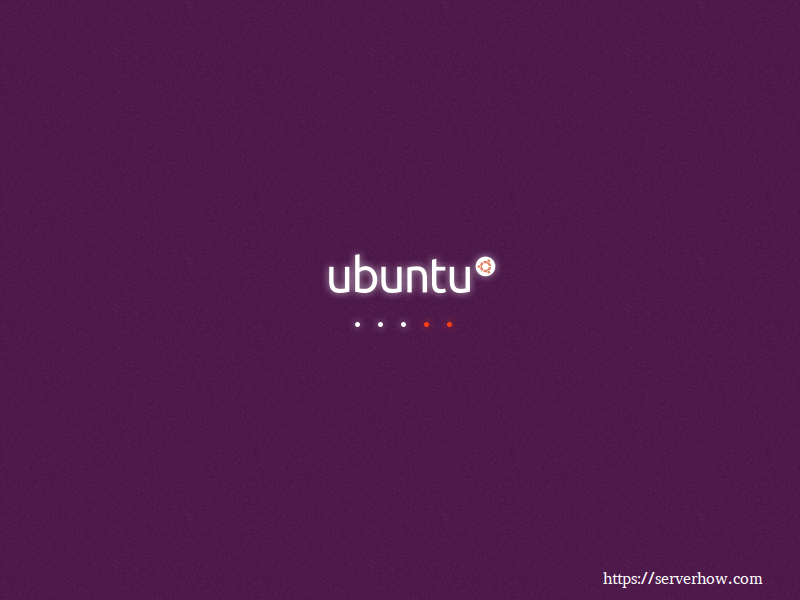
This is the boot screen of Ubuntu after boot from bootable device.
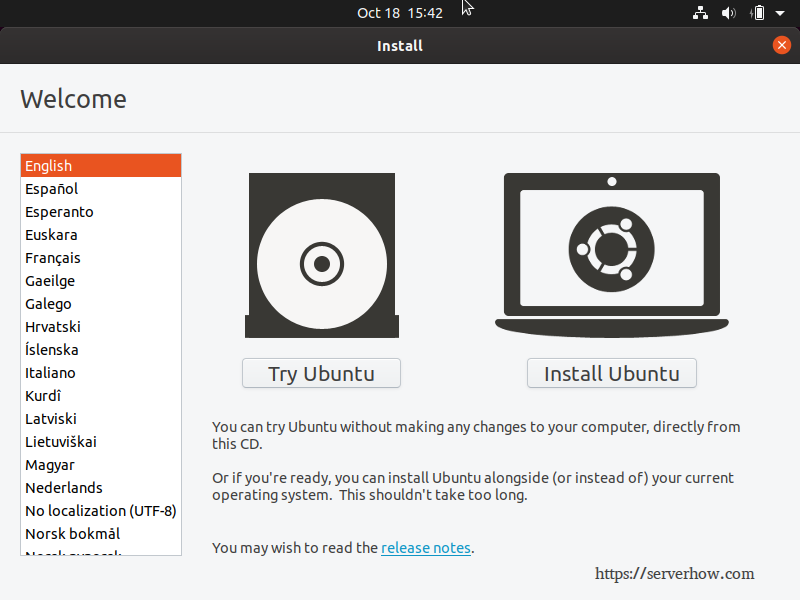
In “Welcome” screen, please select your install language and click [ Install Ubuntu ]
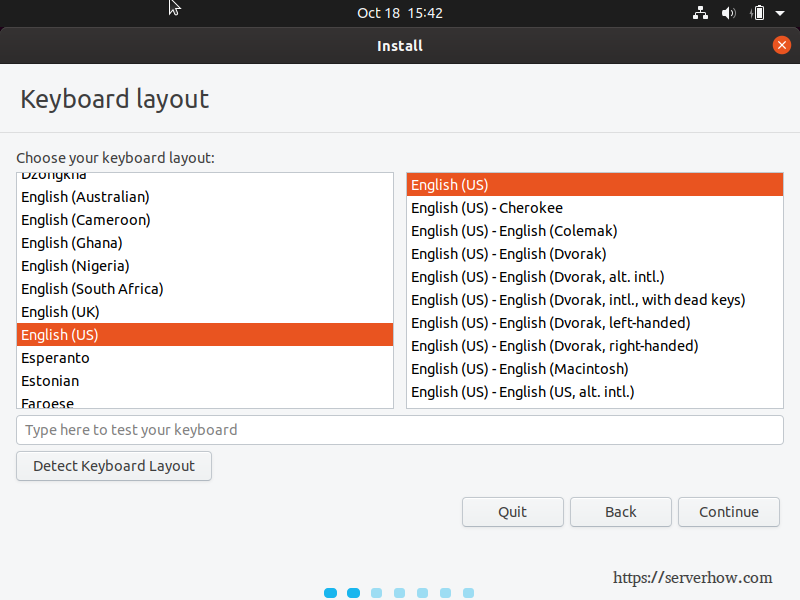
Keyboard Layout
Choose your Keyboard Layout, default is “English (US)” => Click [ Continue ] button
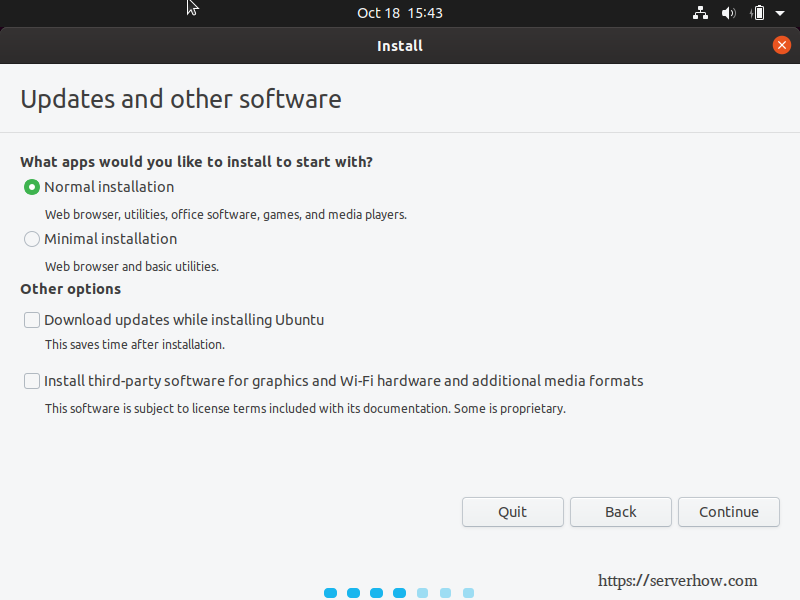
Updates and other software
We have two options for install Ubuntu.
- Normal installation (default option). Select it if you have > 8GB of available disk space and more resource (CPU, RAM, …)
- Minimal installation: If you don’t have at least 8 GB of available disk space. It only install Firefox and basic utilities.
Uncheck “Download updates while installing Ubuntu” if you’re not connected to the internet. It’s saves installation time.
=> Click [ Continue ]
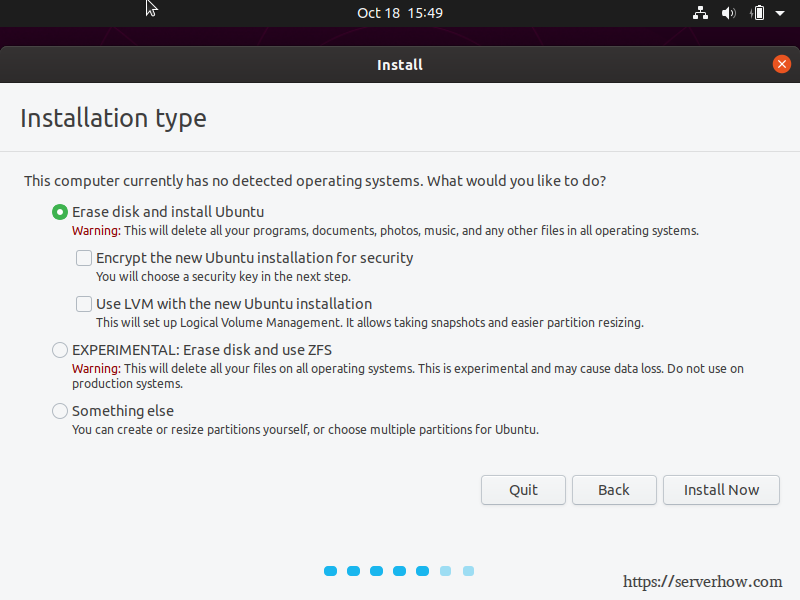
Installation type
Select first option if you is newbie.
The option “EXPERRIMENTAL: Erase disk and use ZFS” is new feature on Ubuntu 19.10. ZFS is a combined file system and logical volume manager designed by Sun Microsystems. Read more at Wikipedia
=> Click [ Install Now ]
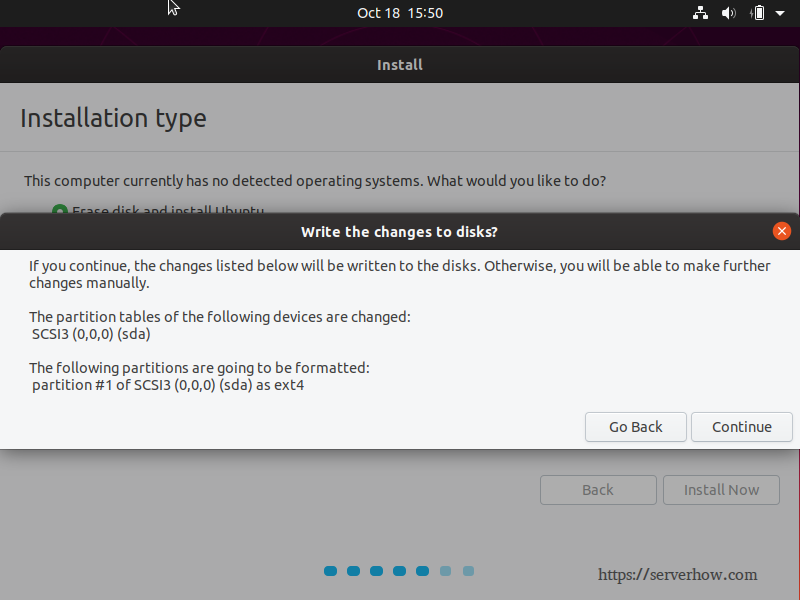
A warning shows up. If your disk have important data. Please backup it.
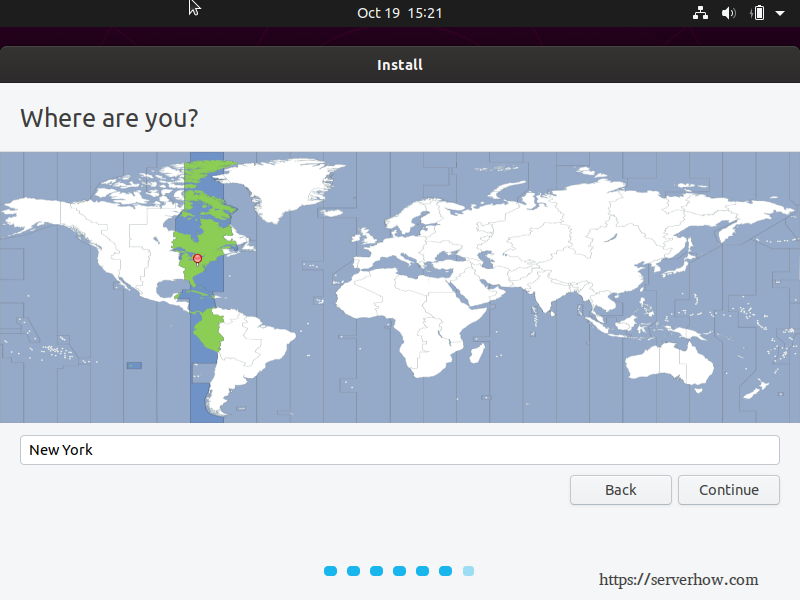
On “Where are you” screen.
Click your country on map => Click [ Continue ]
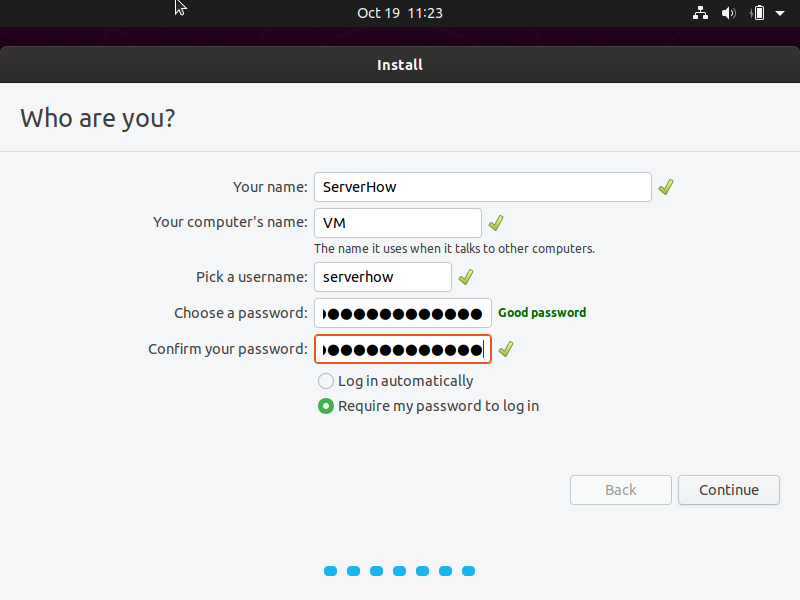
Setting a user
Create first user of your system, fill user’s information. After click [ Continue ]
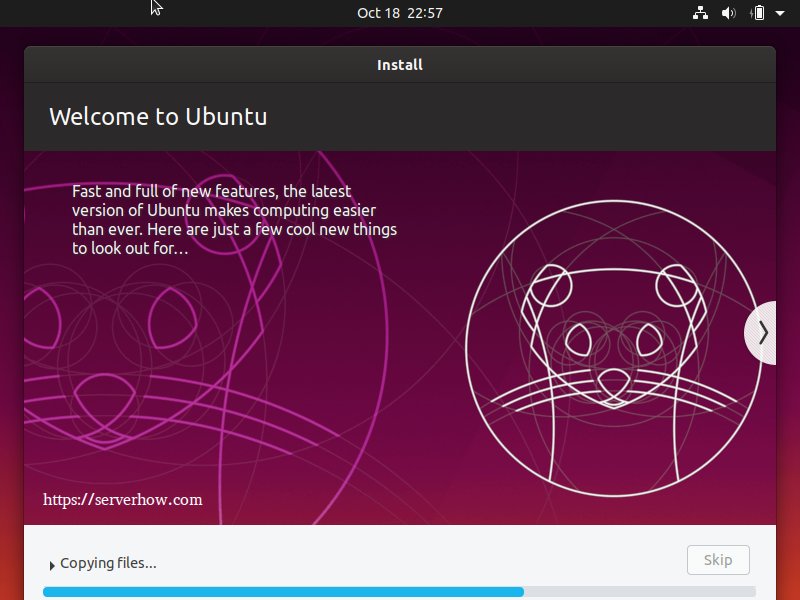
Wait to copy and install the files on your computer.
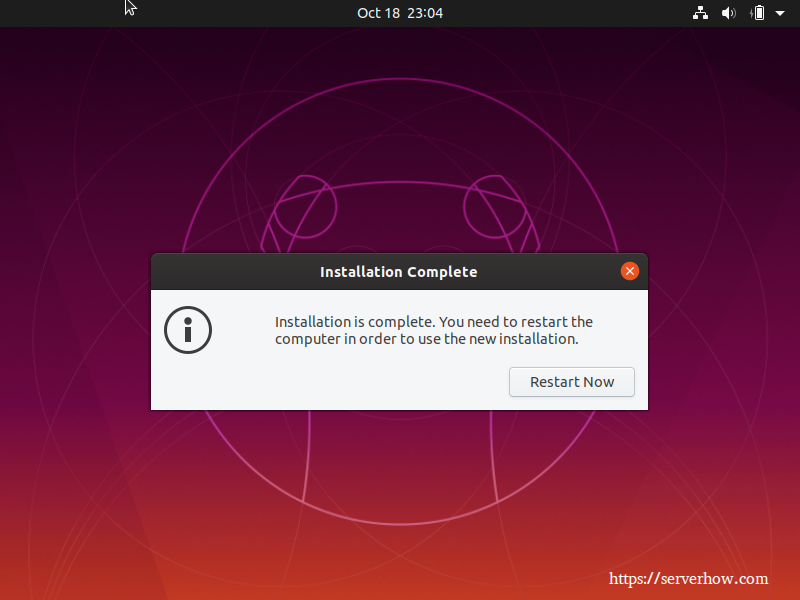
Installation is complete. Click [ Restart Now ]
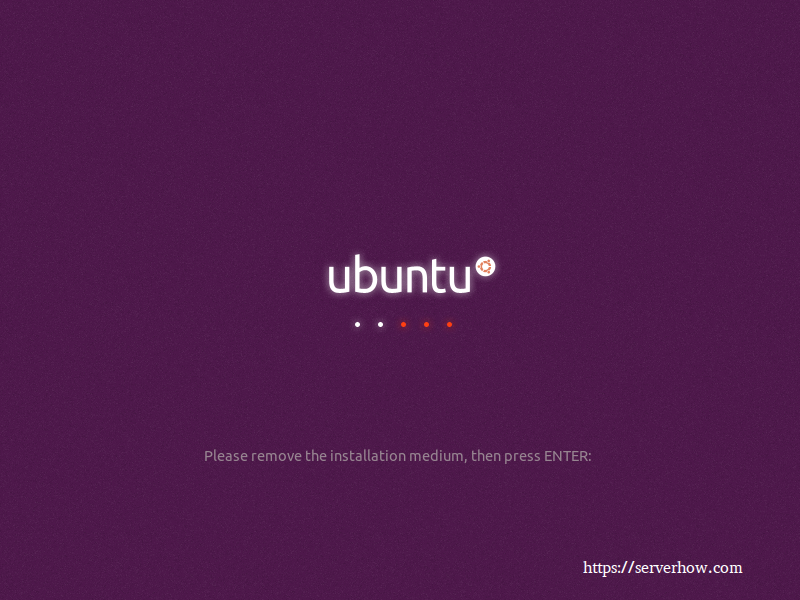
Remove the installation media (DVD / USB0), after you press “Enter” key.
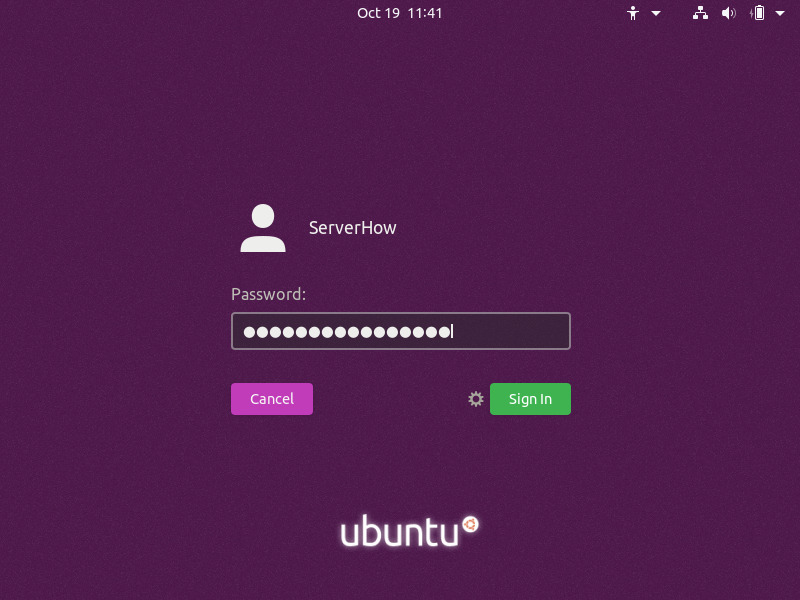
After your computer has rebooted. It displays the login screen. Enter your password to sign in.
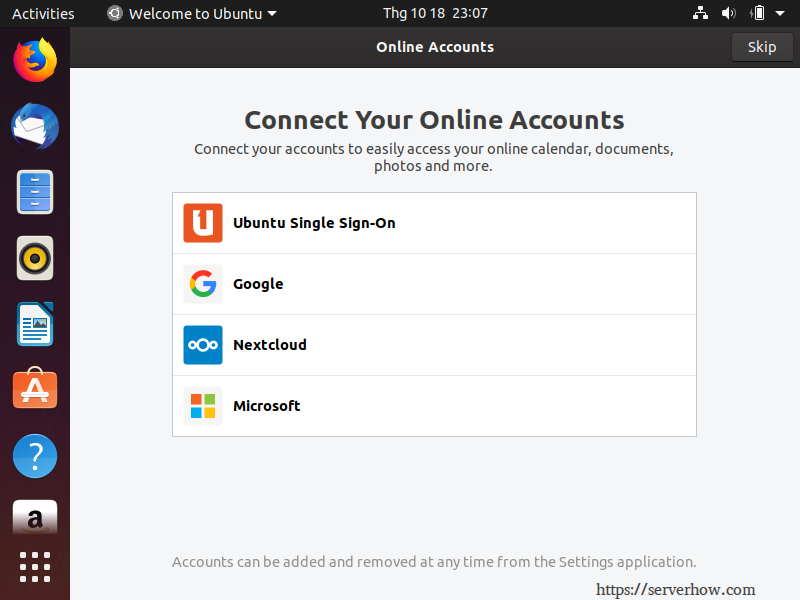
Click [ Skip ]
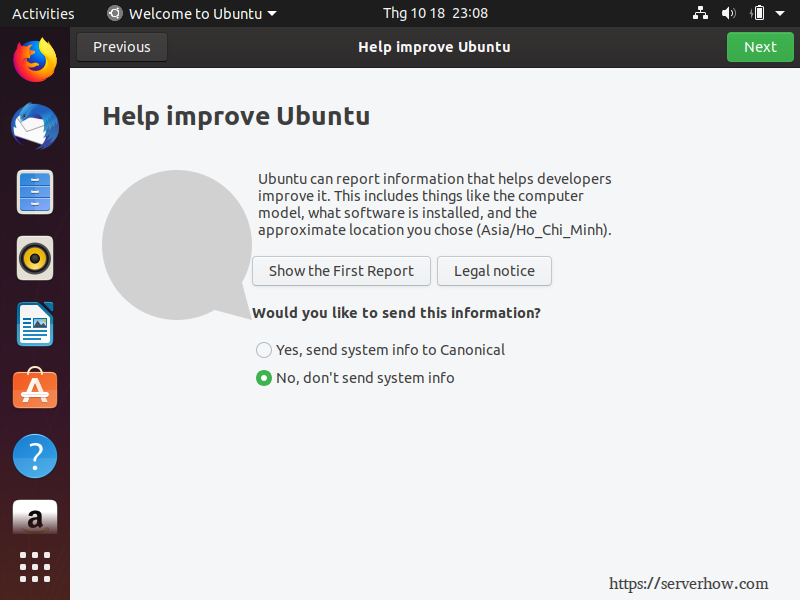
Select “No, don’t send system info” => Click [ Next ]
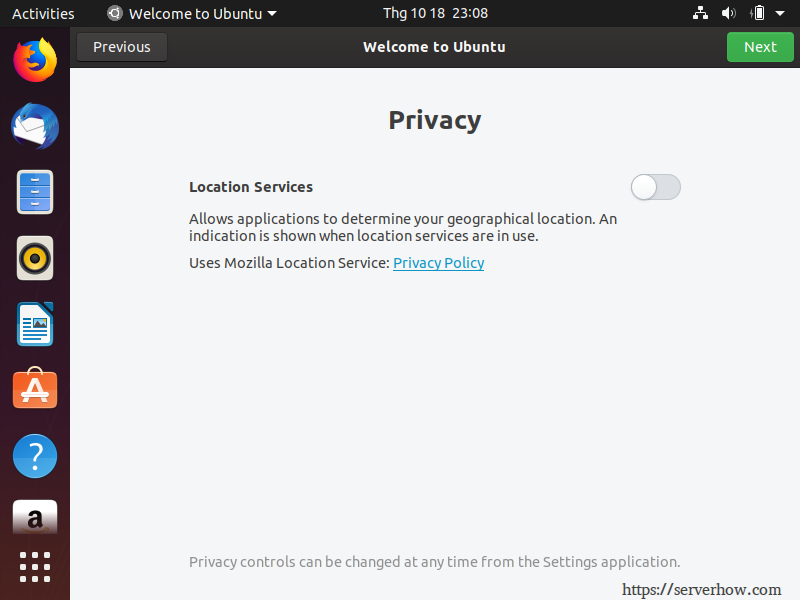
Click [ Next ]
Click [ Done ] to finish the setting.
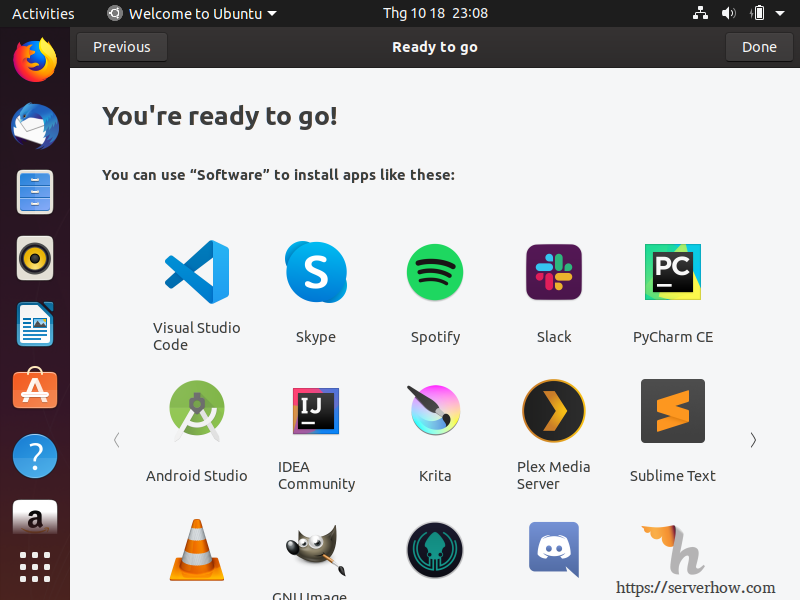
The Desktop Screen of Ubuntu 19.10
